Thursday, September 17, 2015

This is a cabinet I designed for a couple that had saved all of their love letters to each other.
Jim and Marina had the Cutler Letter Box door for some time, knew where in the home they wanted it, we just had to figure out a way to make it shine and be functional.


The last pics show it mostly complete. Test fitting the door and working on the secret drawer.

Finished top. Found some great Walnut Burl from B&B Rare woods.


Here is the Finished cabinet.


I made these dividers that could be removable. Uppers are letter size. Lower one is Legal file size.
That is a Butler's slide that you see above the door.


Secret Drawer !! Shhh!!! I won't tell ya how it works it's a secret.


 Had this bronze banding left over from a previous project and had enough to go around the edge of the top. I think it really ties it into the door.


Wednesday, June 17, 2015


 Back to the Berg residence.
After the chairs we built a cabinet for catching the coats and hats coming from the garage.
Fran and Mark found a great pair of oriental doors. Tall doors, like over 8' tall. They were unfinished pine. Pretty well done. And that's about all I know about Oriental furniture!!


Starting the frame.


The sides dry fit without the panels in.


Standing on it's own with the drawers installed.


      Starting to work on the wax finish. Man is it tough to match old Pine,just using dyes and wax. The first step was a silver water stain.
.

Then tinted Briwax.


Then it takes the wax at different rates and looks odd.


But eventually evens out.


             We installed hammered and distressed copper so you couldn't see through the grid.
                                                             Thanks Whitesmith Guys!


 For the four post bed I glued up my posts out of Quartersawn White Oak. Straight and square is a must .When you start tapering and chamfering the corners all the discrepancies show up. The other trick is the jig to chamfer the posts. A little bit of trial and error there too!


                                                 A little clean up by hand at the transition.


 Next the head board. I found a nice, wide piece of  White Oak for it. Barely fit through the 24 " planer at GACC aka my old shop. Thanks Ed.


Next the hand plane. 


Detail at the post


Need something for that bed bolt hole. I got to try my hand at the forge! Nothing like beating on red hot steel.


                                                                         Finished!


If you have followed this blog for some time. You will know I have worked with Emily Owens for many years, through some fantastic projects. So it is with deep regret, I have to say these are the last projects we will get to do together. Do to a family health issue she is closing her firm. These are for her beach house. Thanks Emily, it was quite a run! 

I couldn't get the whole top in one pic with my iPhone! I think it was 9' long.


                                       Always loved this detail on Craftsman Style furniture.


                                You have to have a little V groove to catch the crumbs. Right!


The base has some great ironwork that my buds downstairs helped me with. Thank You Ish. 


Next is a Pencil post bed.


Monday, March 9, 2015


My next few posts will be about Mark and Fran Berg's new home.
I met them a few years ago when they where building their Colorado home. I'll have to see if I can find a pic of the Huge French entry doors we did. Along with a couple of other cool pieces made with doors.
For this home, I built couple of pieces and a large built-in cabinet.
 My assistant Gustavo took care of their restoration work. He really worked over their dining table.

We started off with this pair of arm chairs made to match their side chairs for the dining table. 


                                                                         The Pair.


The upholstered version.


                                                                    More to come.

This was a fun project that was a three way collaboration with Brad Oldham, Whitesmith, and myself.
My part was the wood backplates.

Here is the basic shape with the top mounting holes drilled.


The back was relieved for a metal pan to channel the electric. I made a template for a pattern bit to set the edge then drilled the waste away with a forstner bit.


Here is all ten lined up.


                                                                     The finished project.


A couple shots of the hall.


That leads to this room.


Tuesday, February 10, 2015

I have had a few projects going since the Guitar showcases.

This is the start of a fun project that involved turning three framed Oriental prints into a folding room divider.

 A pair of legs with the start of the profile.


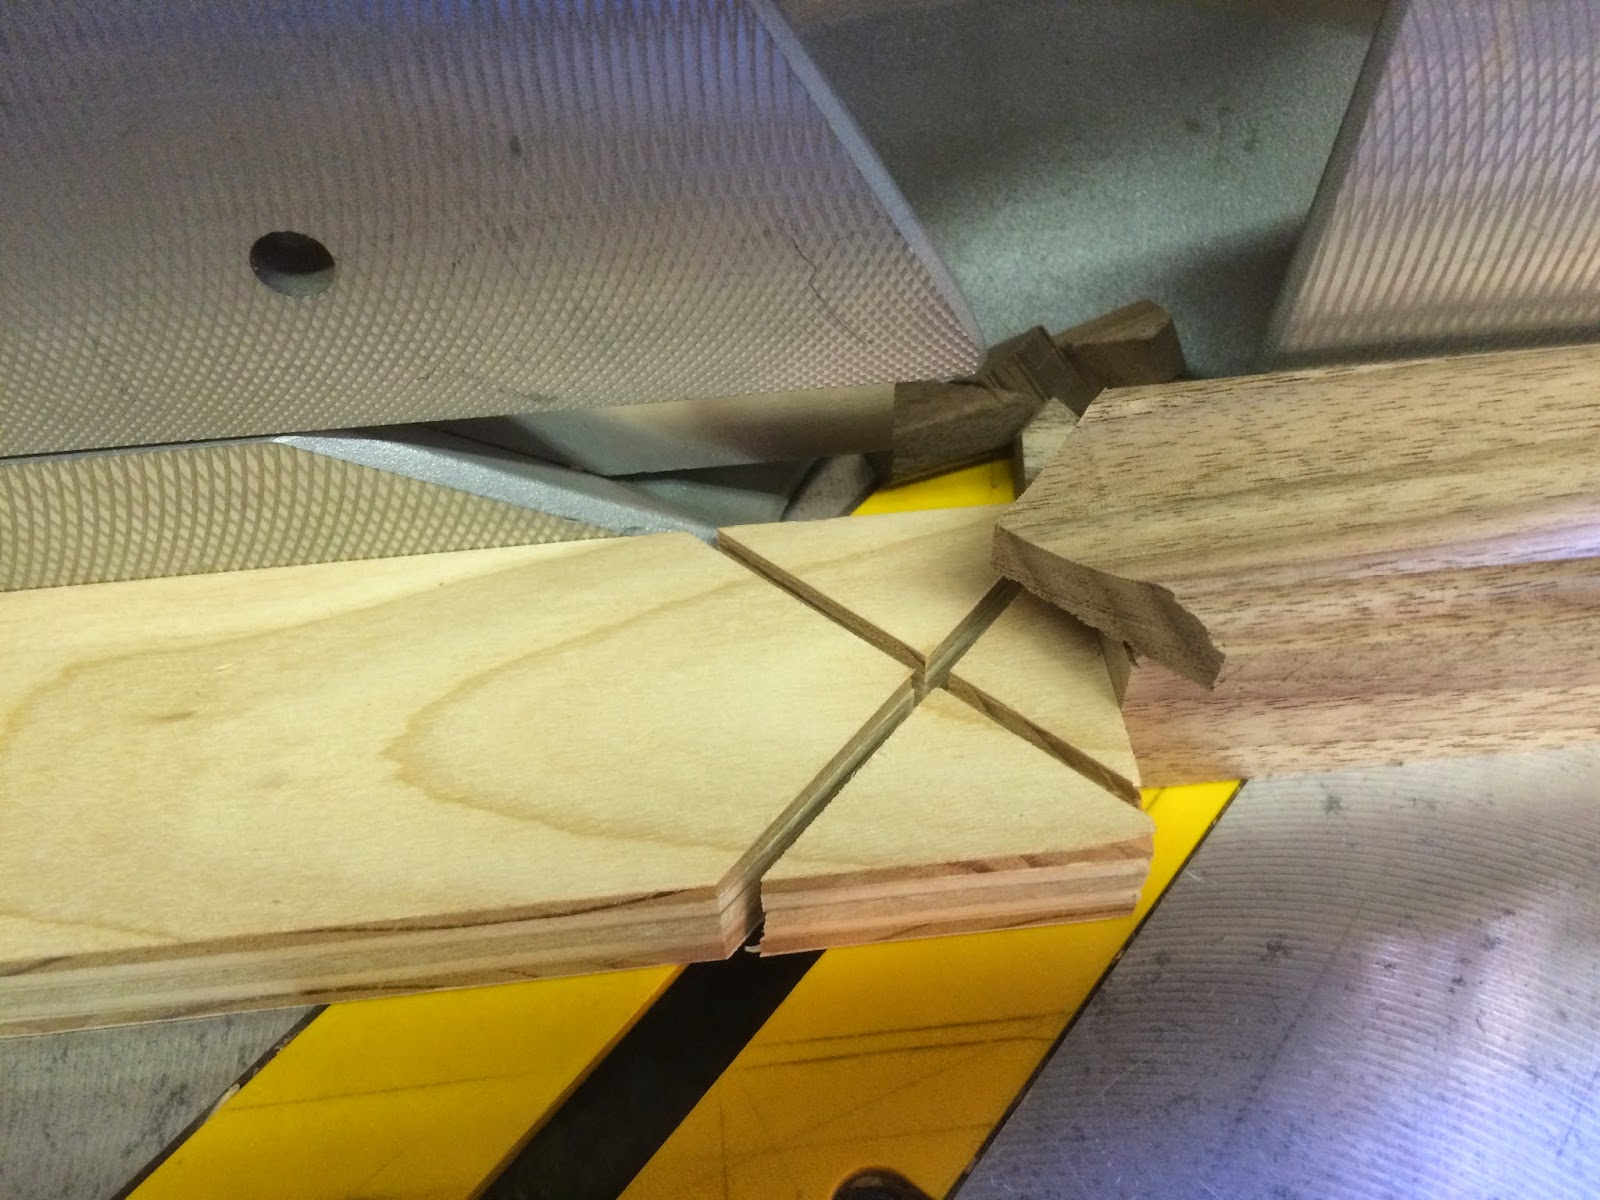
Lots of jack miters to cut on 15 pieces. I used a Festool Domino machine instead of a true mortice and tenon. It's faster and cuts a great fitting tenon every time.
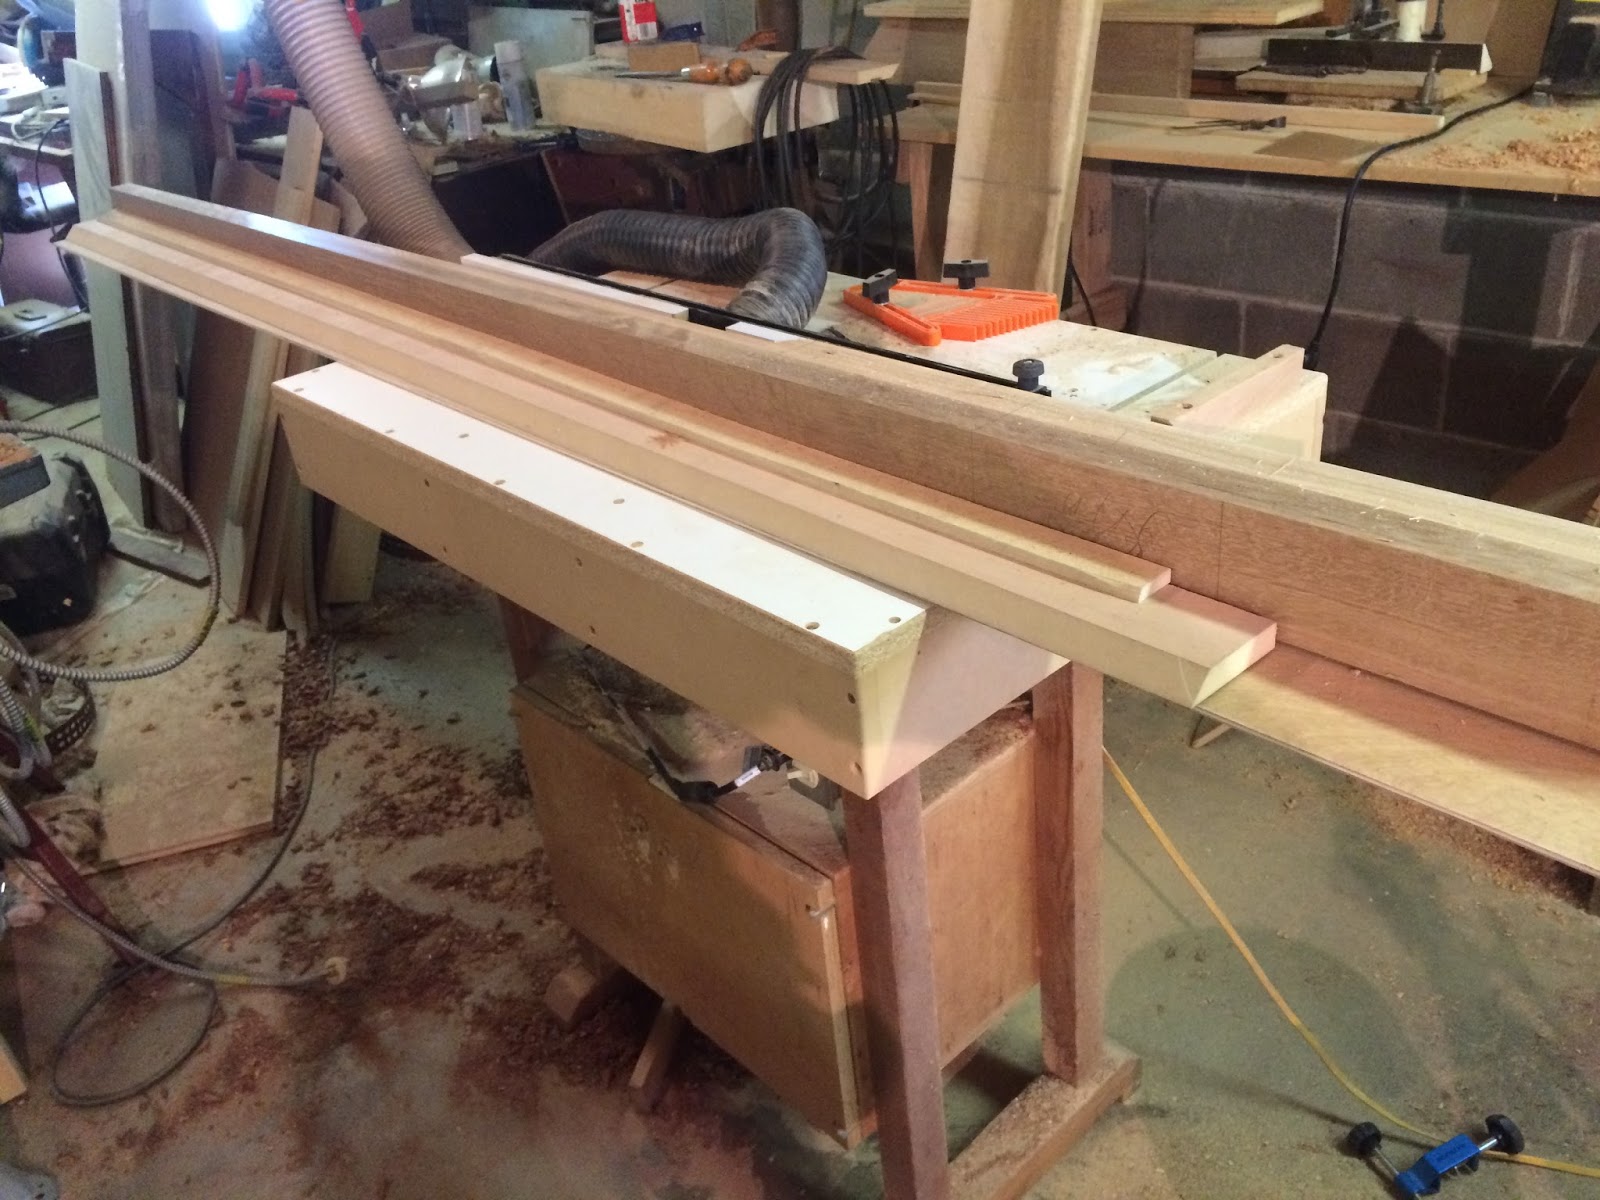
Below I'm cutting the pieces to length with the crosscut sled on the table saw.


The actual miter cut set up.


Below is the first frame dry assembled. It is leaning against the oriental doors that I turned into a coat cabinet for another clients home I have been working on. Some neat  things to come with that project also!


One complete panel.


Found some wonderful  walnut at Hardwoods of Dallas for the solid panels.


The completed divider.


The back side has a faux mirror wallpaper on foam board inserted to cover the back of the framed prints.